9 Patch Snowball Quilt
Posted in /Fabric_Projects/Quilts on Saturday, July 15, 2017
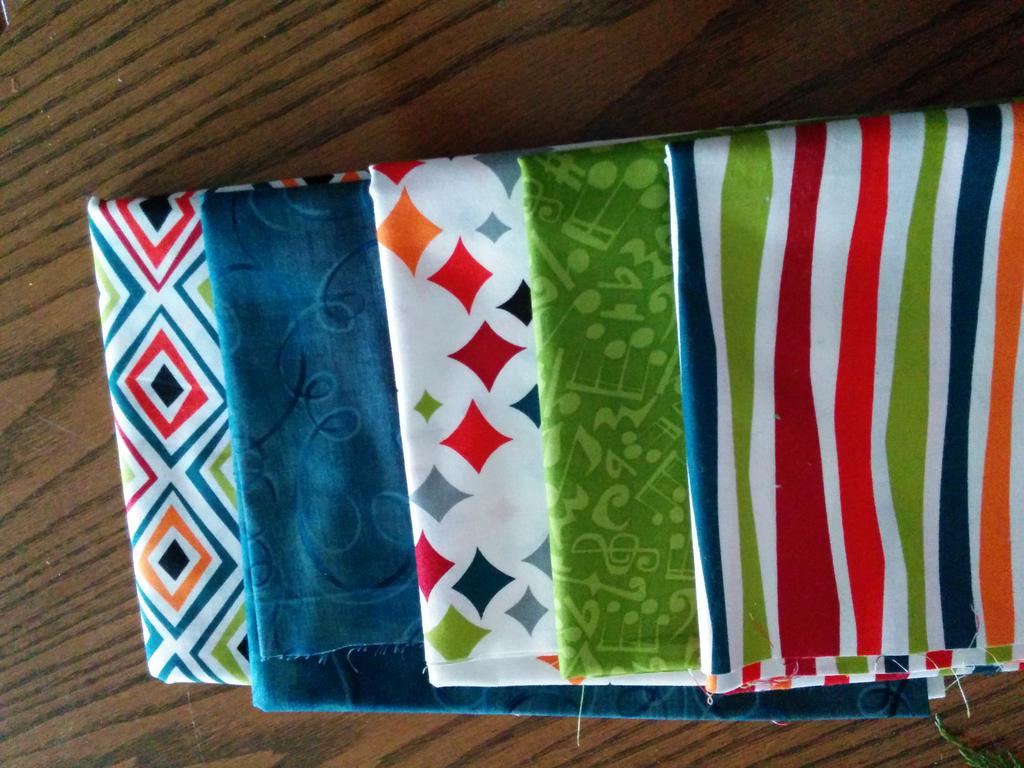
This is a quilt for my nephew Tyrus. The quilt has two different blocks, the 9 patch and the snowball. I made each block in two colours and the 9 patches were made into two different configurations so there are a total of 6 different blocks.

Because it is a quilt for a baby I chose bright vibrant colours. I had a lot of fun shopping for fun fabrics
Snowball block
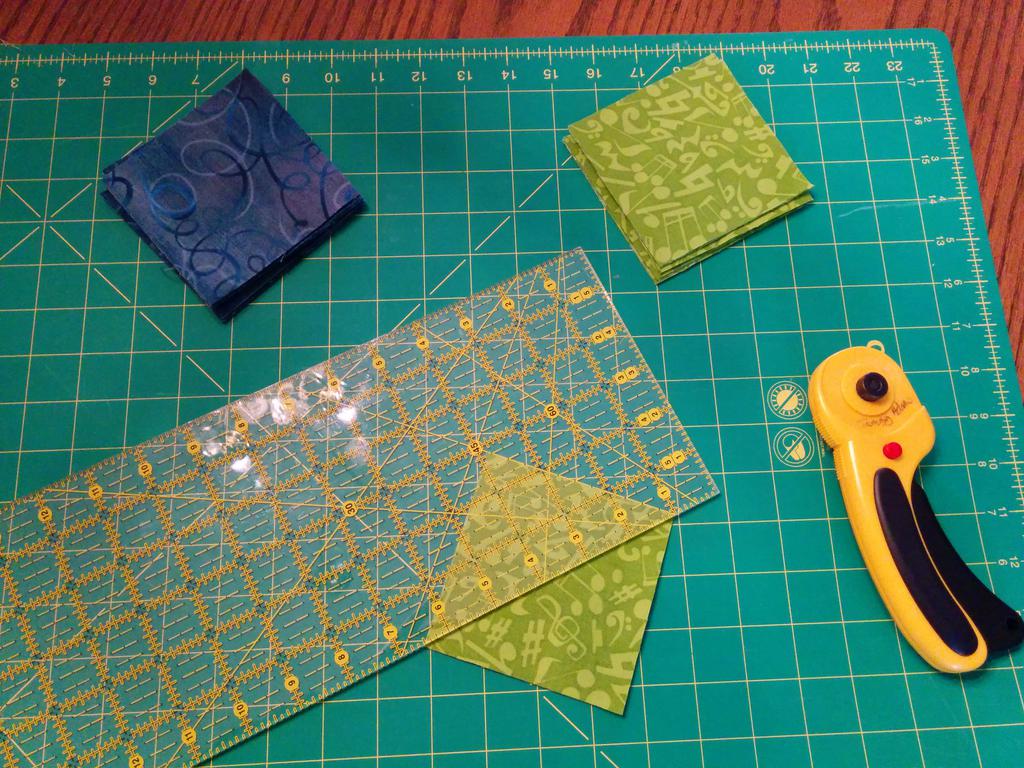
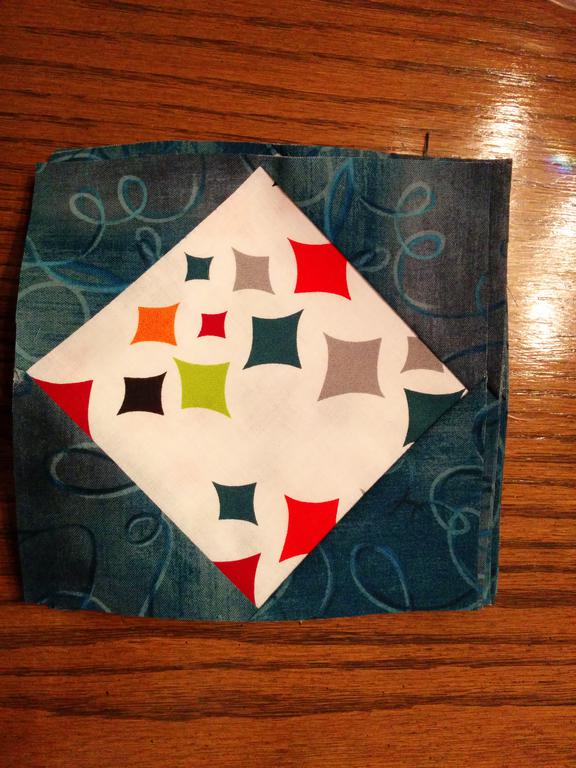
Cut the 3 & 7/8 squares in half on the diagonal. You can use the 45 degree line on your ruler for a perfect cut. Remember to measure twice cut once. Cut squares that are 4 & 3/4. Remember to measure twice cut once.
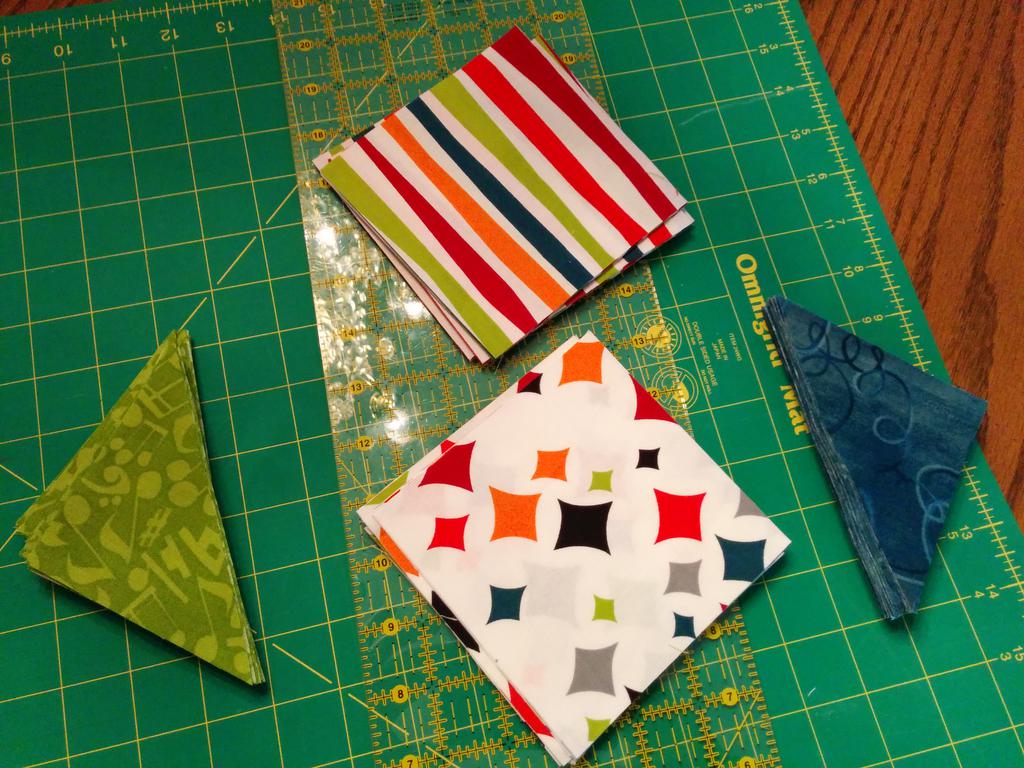
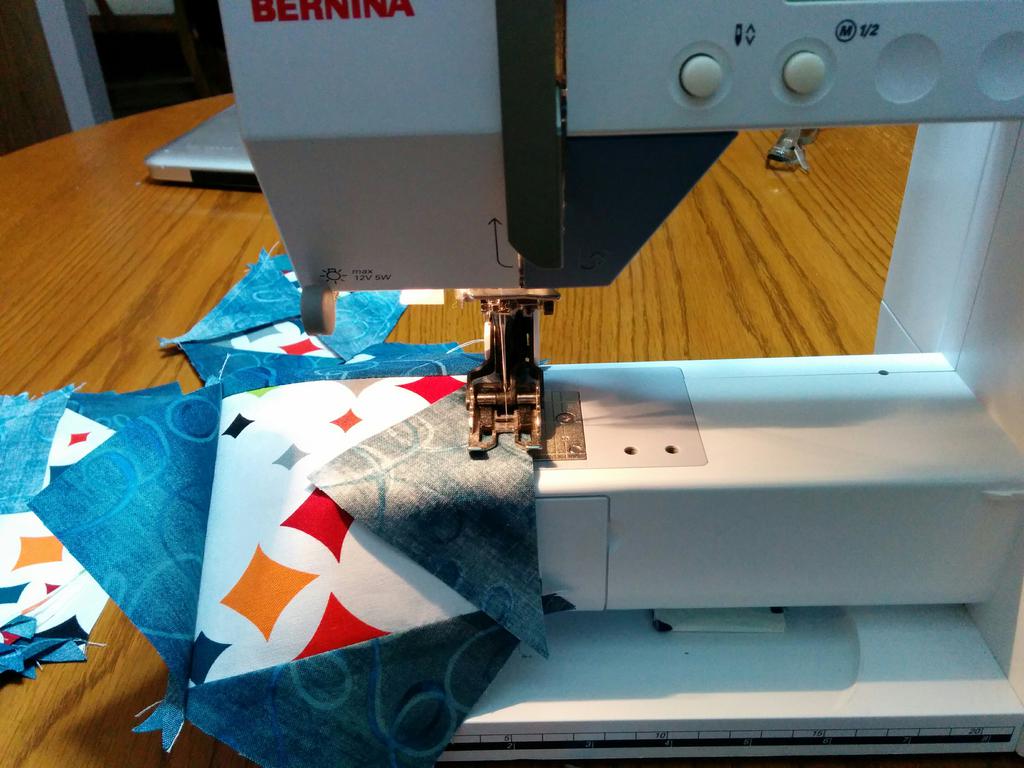
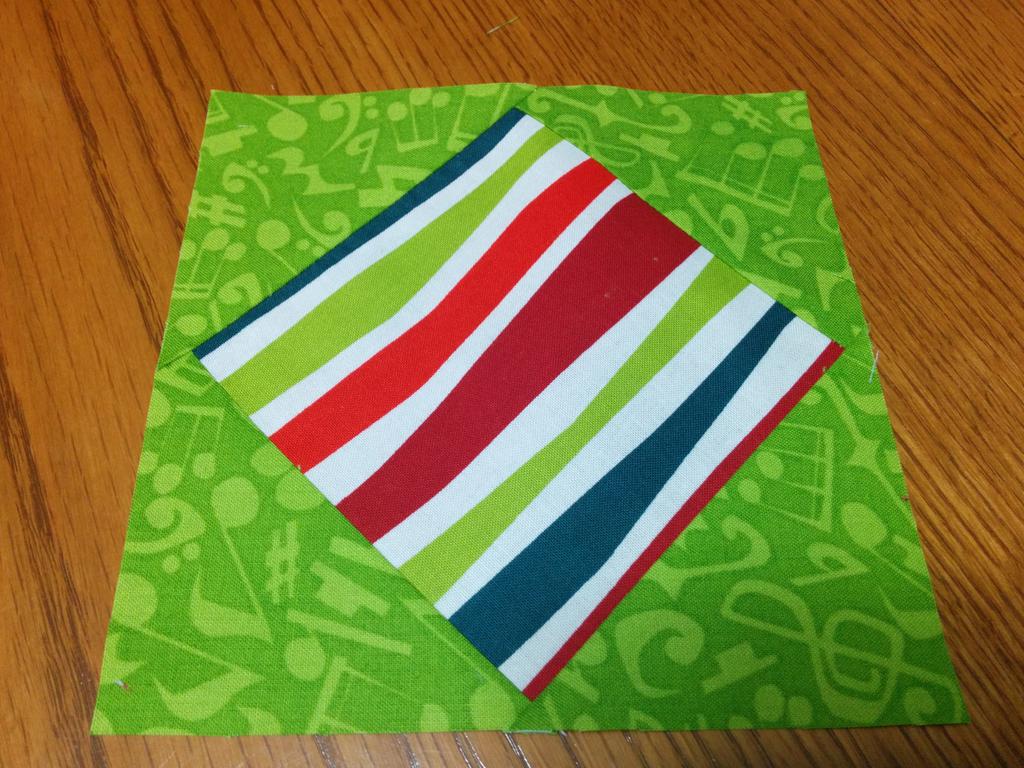
Sew triangles on the square on opposite sides using a 1/4 inch seem allowance. Iron open the triangles with the seem allowance toward the darker color. Sew the remaining sides with triangles using a 1/4 inch seem allowance. Iron open again with the seem allowance toward the darker fabric.
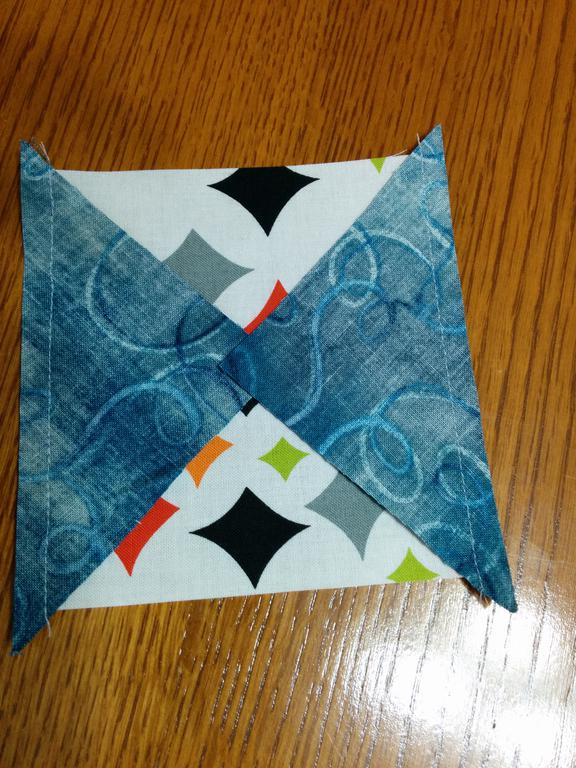
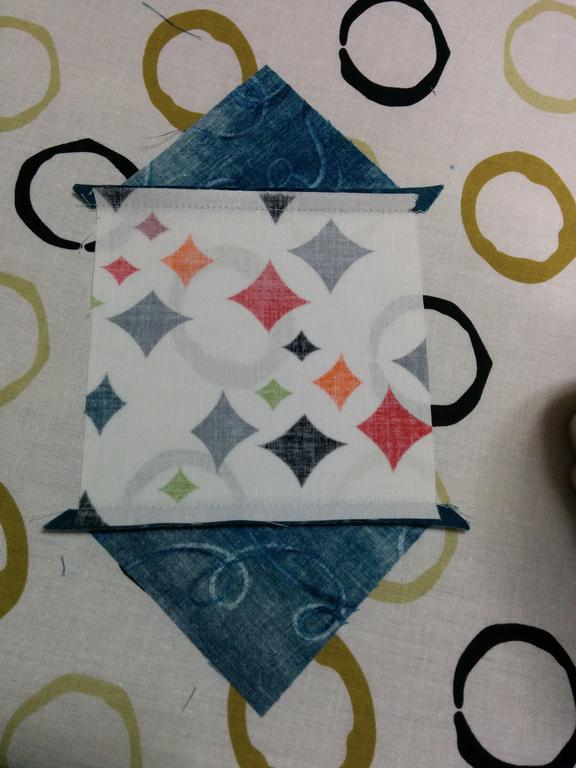
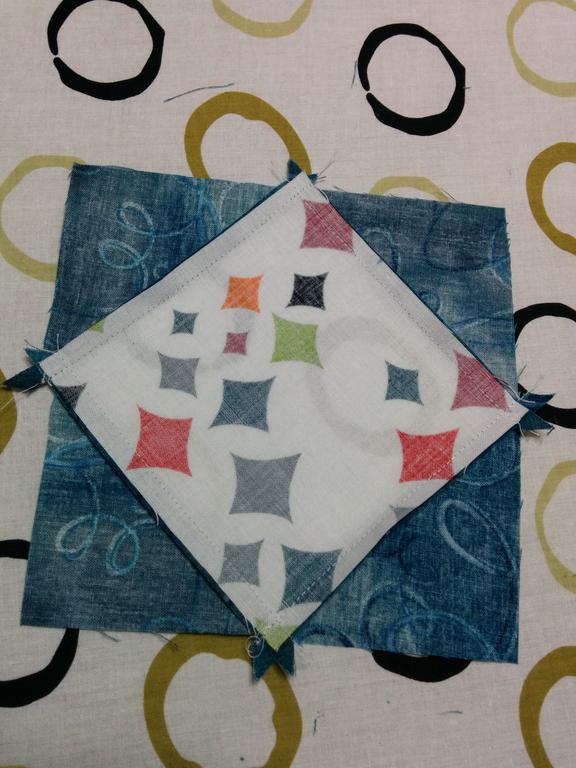
Even the sides by "squaring" the square. I like to use the 45 degree line on my ruler and line it up with the edge of the inside square. Your square should be 6.5 inches square. This is a tedious step but will be worth it when it comes time to put all the blocks together, you run the risk of loosing your points if you don't "square" your squares.
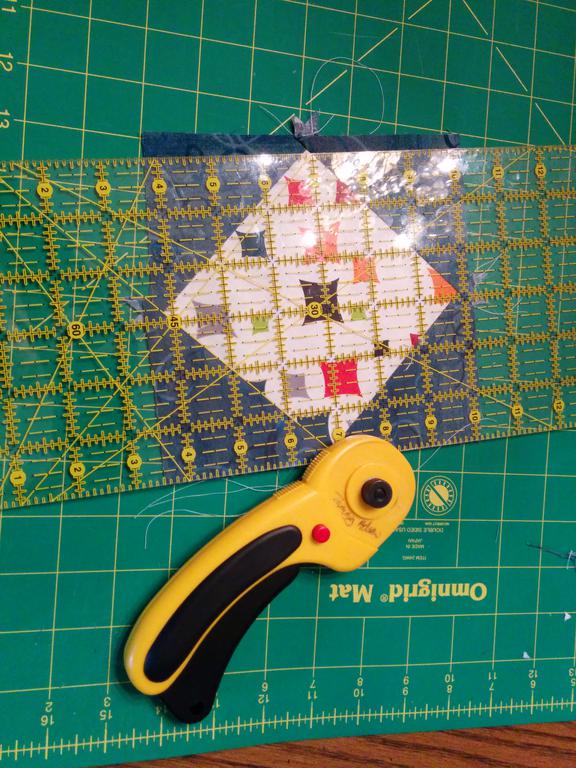
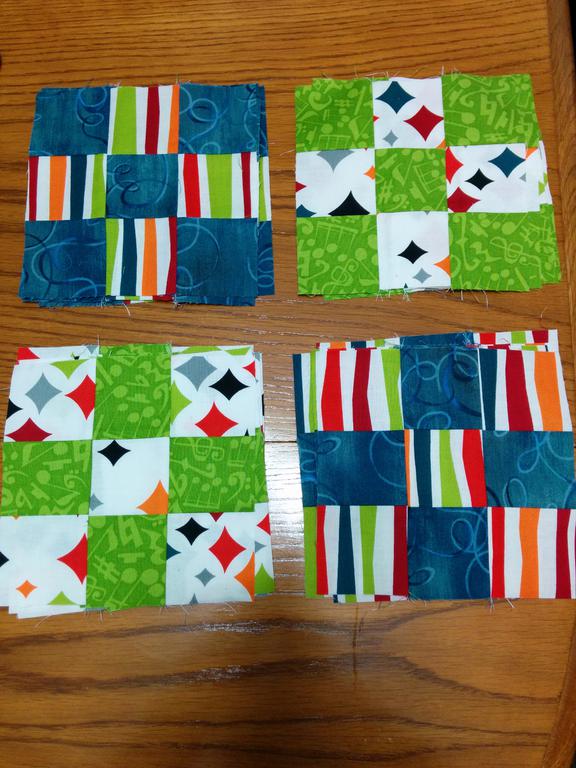
Finished snowball blocks
9 patch block
Cut 2 1/2 inch strips & sew them together.
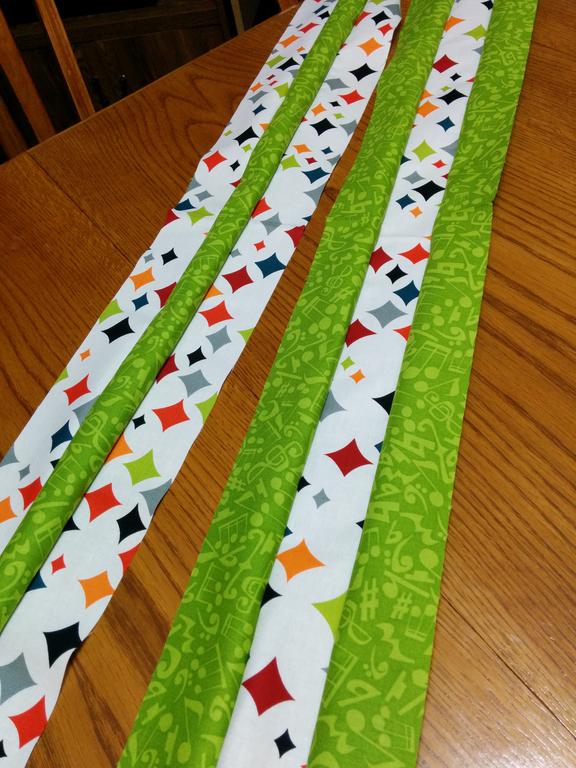
Cut your sewn strips into 2 1/2 inch strips. Then sew the 3 block strips together to make a 6 1/2 inch 9 patch square.
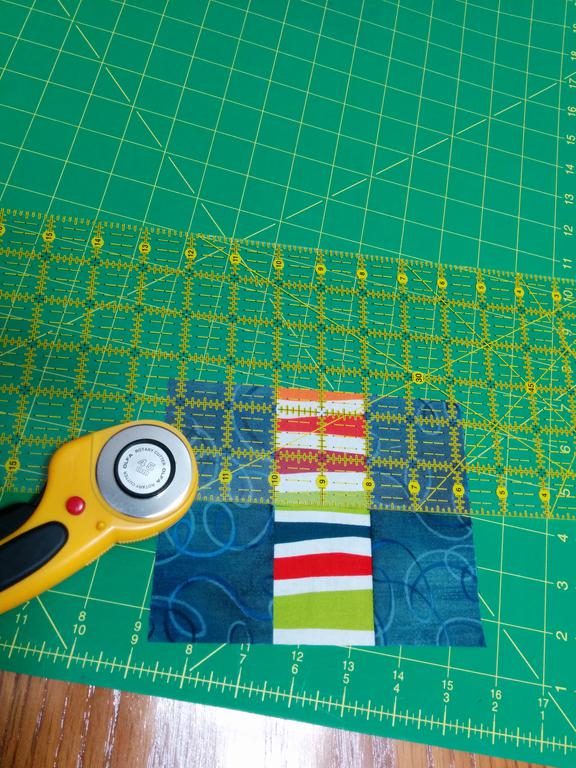
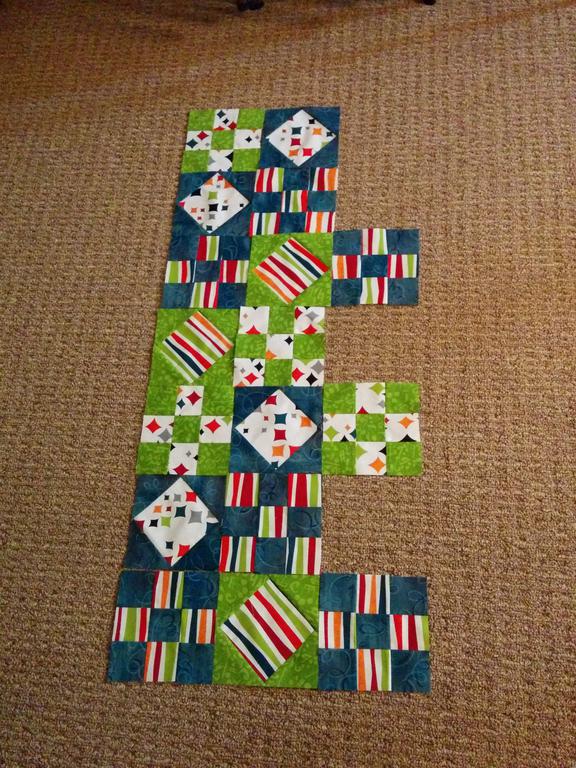
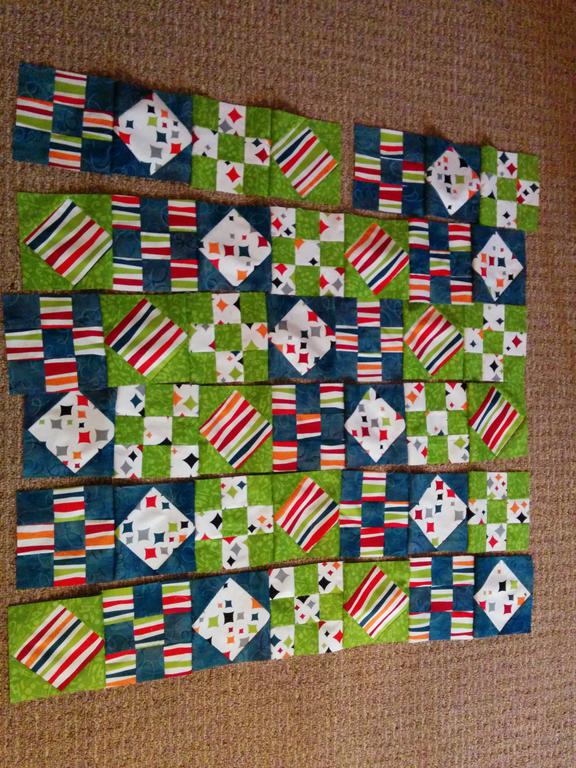
Lay out all your squares & sew them into strips
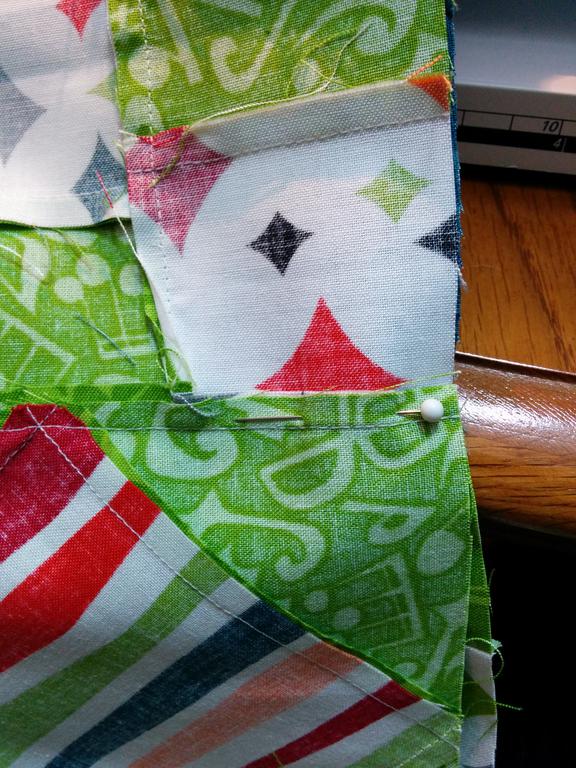
Lay right sides together & pin the the seems together.
Sew on the first border
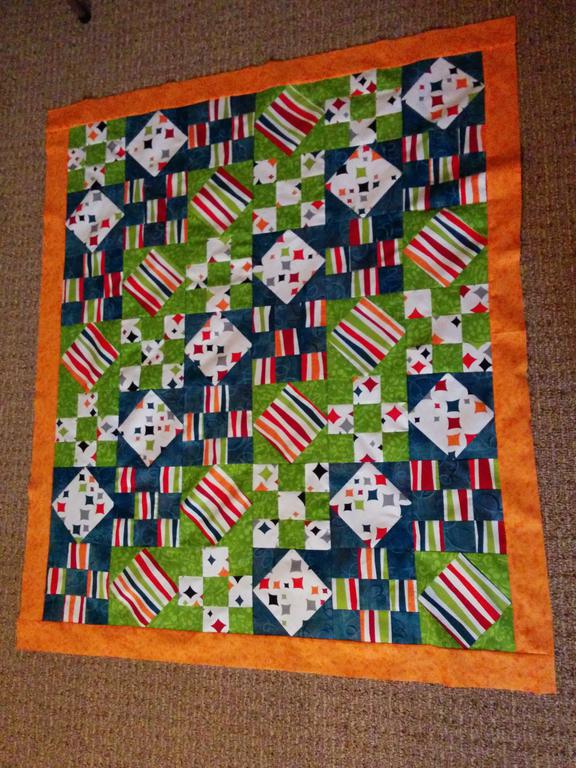
Sew on the second border
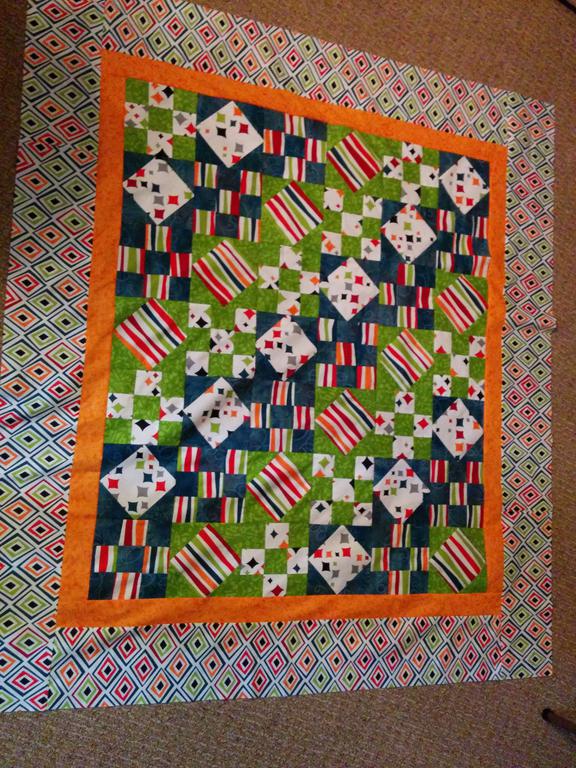
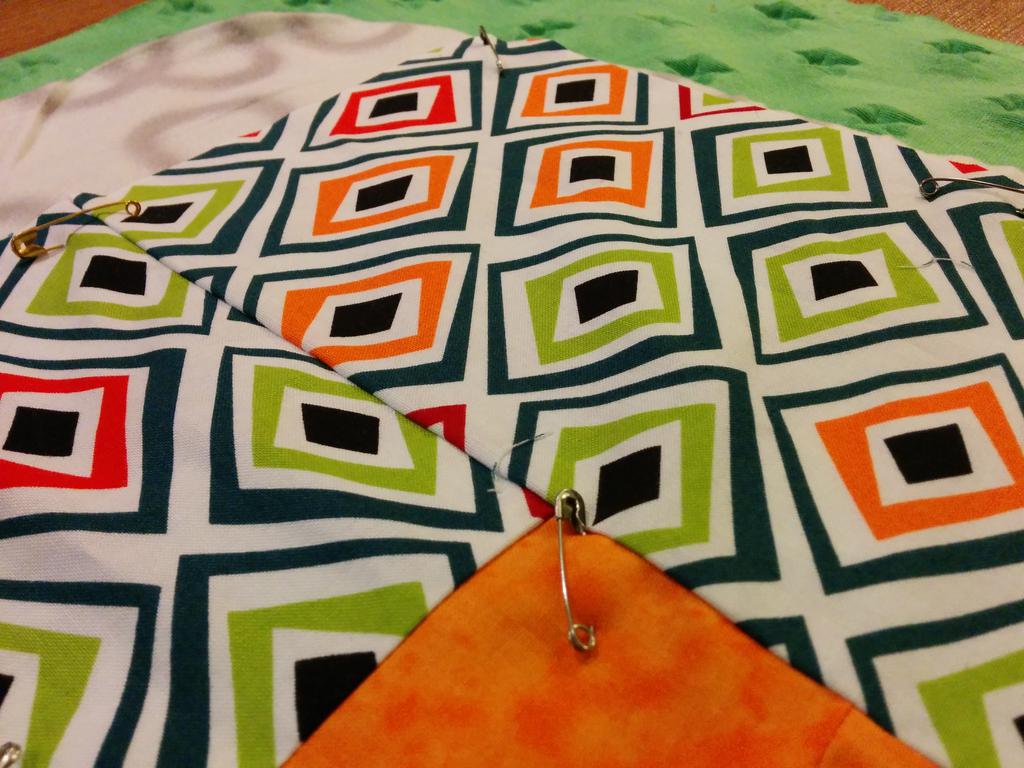
Now that you have the topper done, the next step is to sandwich the backing, batting & topper. These can be held together with thread (called basting...aka a lot of work), spray adhesive (toxic fumes) or my personal favourite safety pins. I arrange all the layers on my floor and sit down in the middle of the quilt and begin to pin from the middle out, pinning every 4-6 inches. It is a good practice to have extra batting and backing when layering your quilt. The quilt will shift a little while being quilted so having a bit of extra can help prevent not having enough later on.
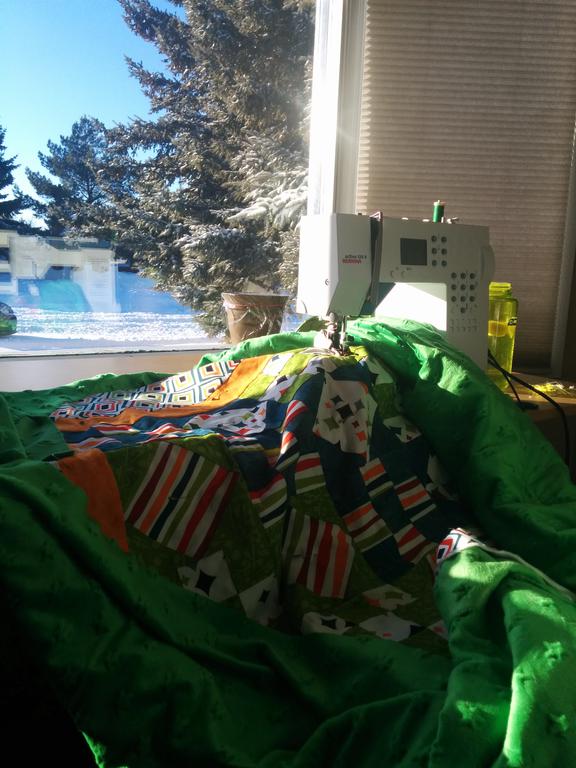
Now that you've pinned the quilt layers its time to start quilting. You should begin this process by stitching in the ditch (quilting along the seem of the block) across the middle of the quilt both lengthwise and width-wise. For larger quilts you may need to roll up the side that will go under the arm of the sewing machine as you can sort of see in the pictures above. Once you've secured the quilt layers you can begin to have more fun with your quilting techniques.
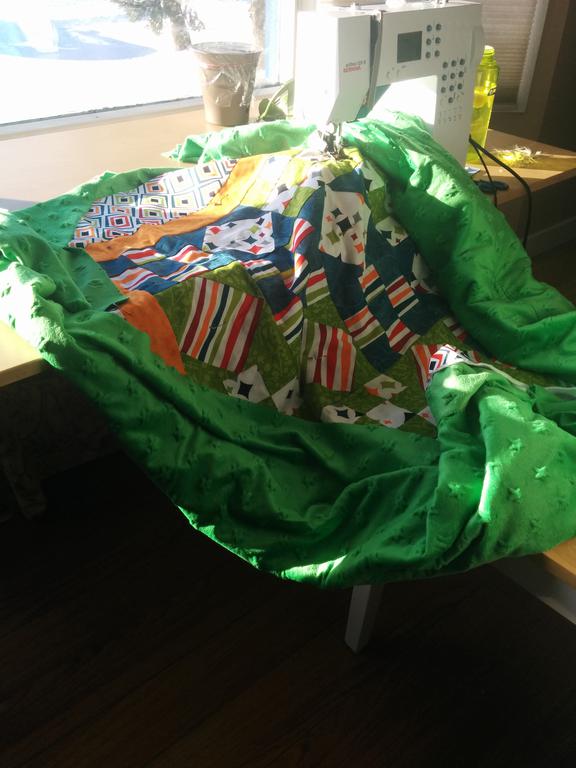
Once you've completed the quilting process the next step is to cut off the excess fabric.
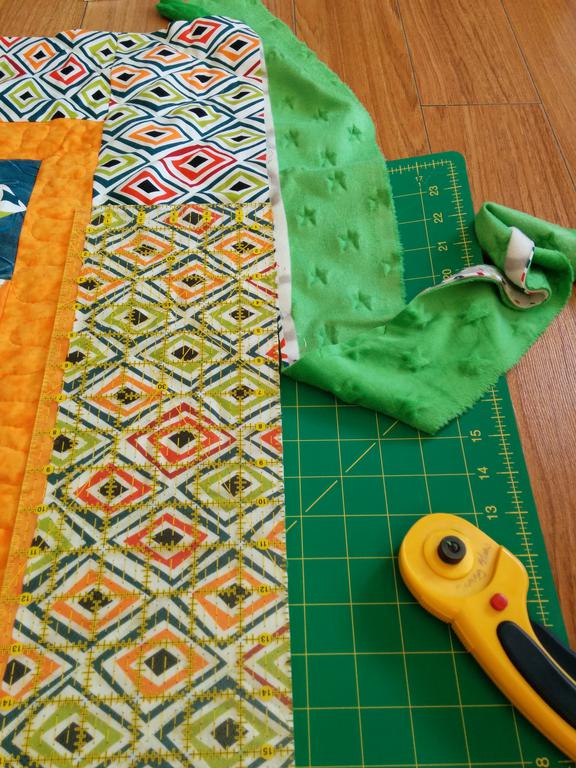
Using bias tape (purchased or handmade) to close the quilt is easier than most people think. Start by opening the tape, folded side up, as seen in the picture above. Aline it with the edge of the quilt and stitch a skinny 1/4 inch all the way around the quilt.
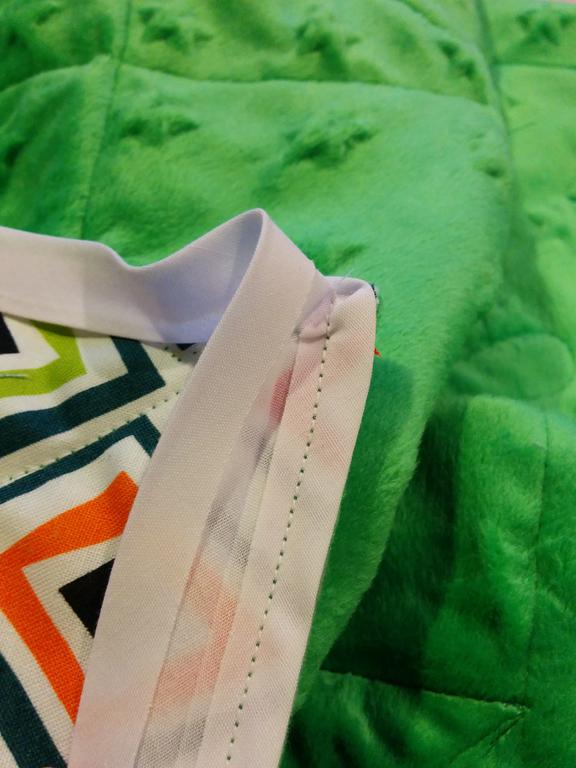
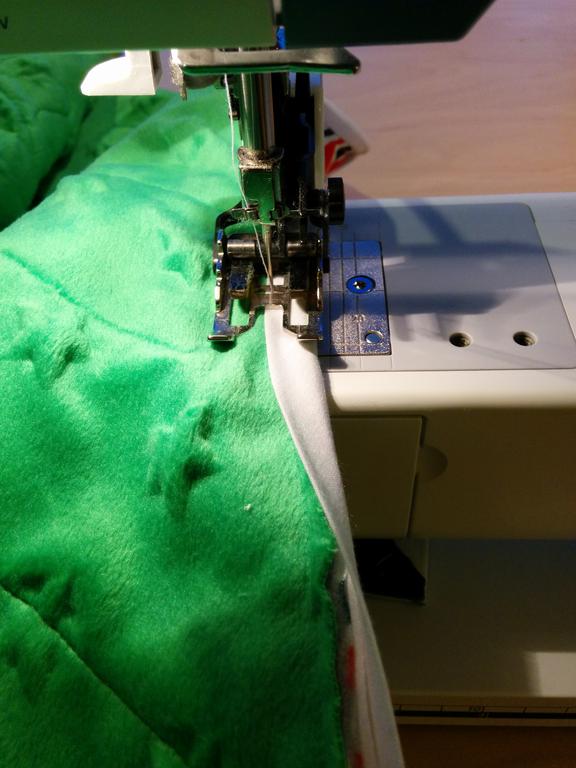
Once you've done the first side of the bias tape you can now fold it over and stitch along the edge of the bias tape making a clean edge for your quilt.
Finished quilt
This the the finished product. After this much work it's very normal to feel attached to the quilt. Nevertheless, for the right person who will love the quilt as much as I do, I never have a hard time parting with them!
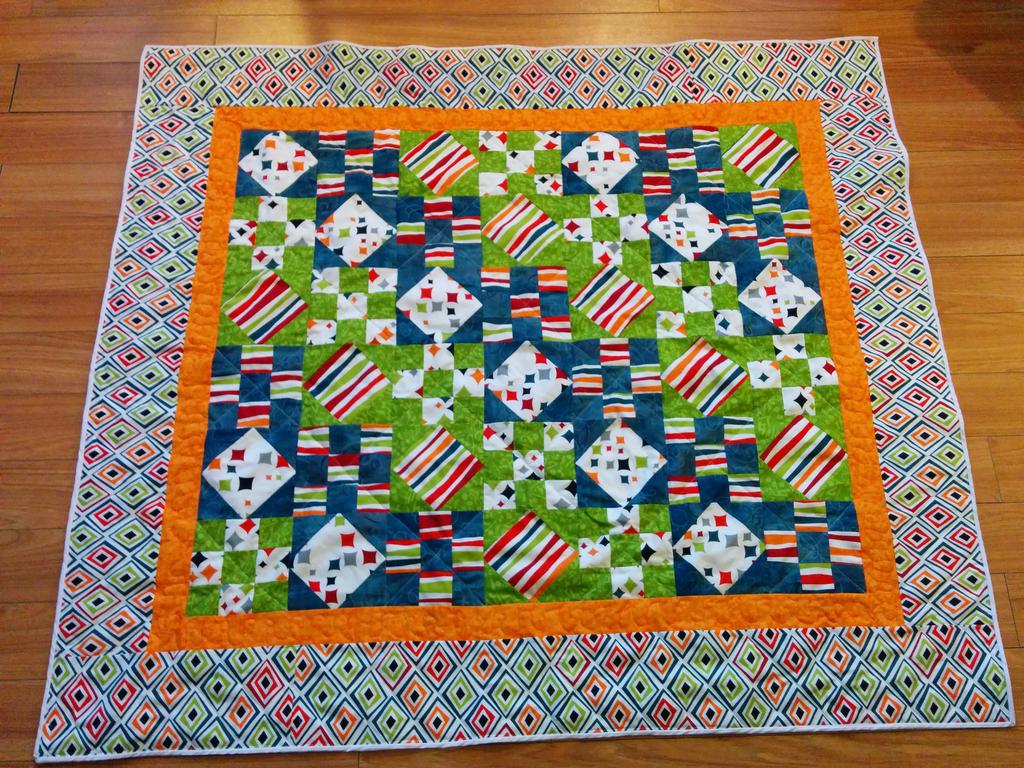
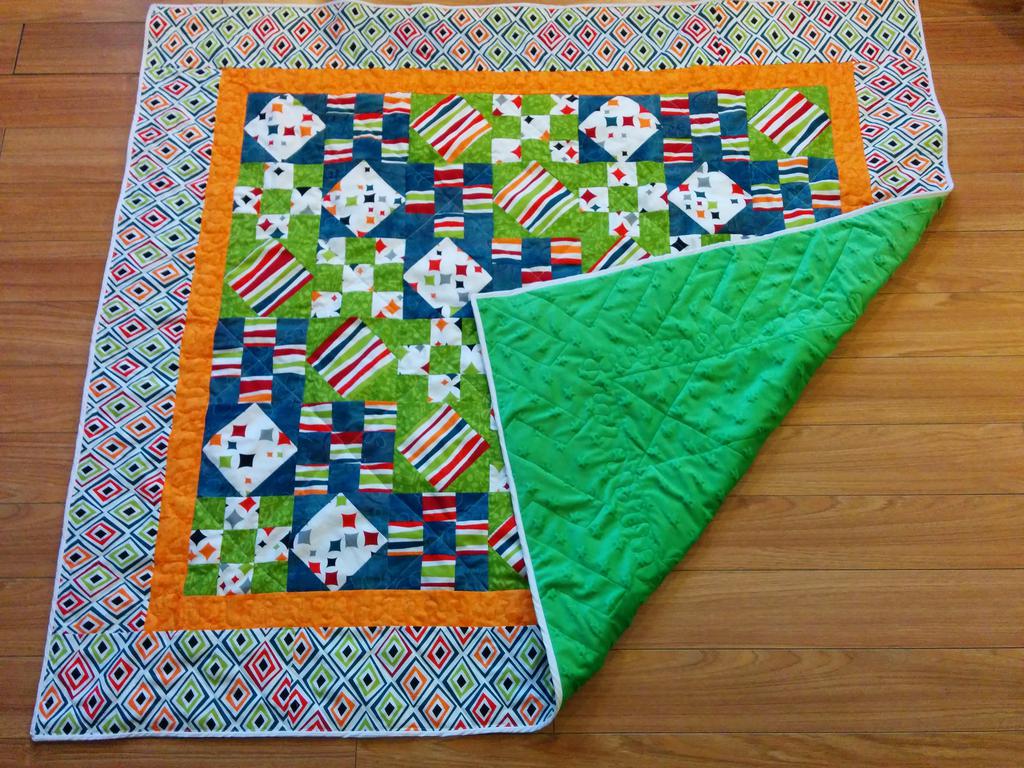
This quilt will actually fit a single bed and is well insulated for the cold Canadian nights.
The whole project took approximately 50 hours start to finish (not including fabric shopping).
Writeback