Boxtrot Quilt
Posted in /Fabric_Projects/Quilts on Saturday, July 22, 2017
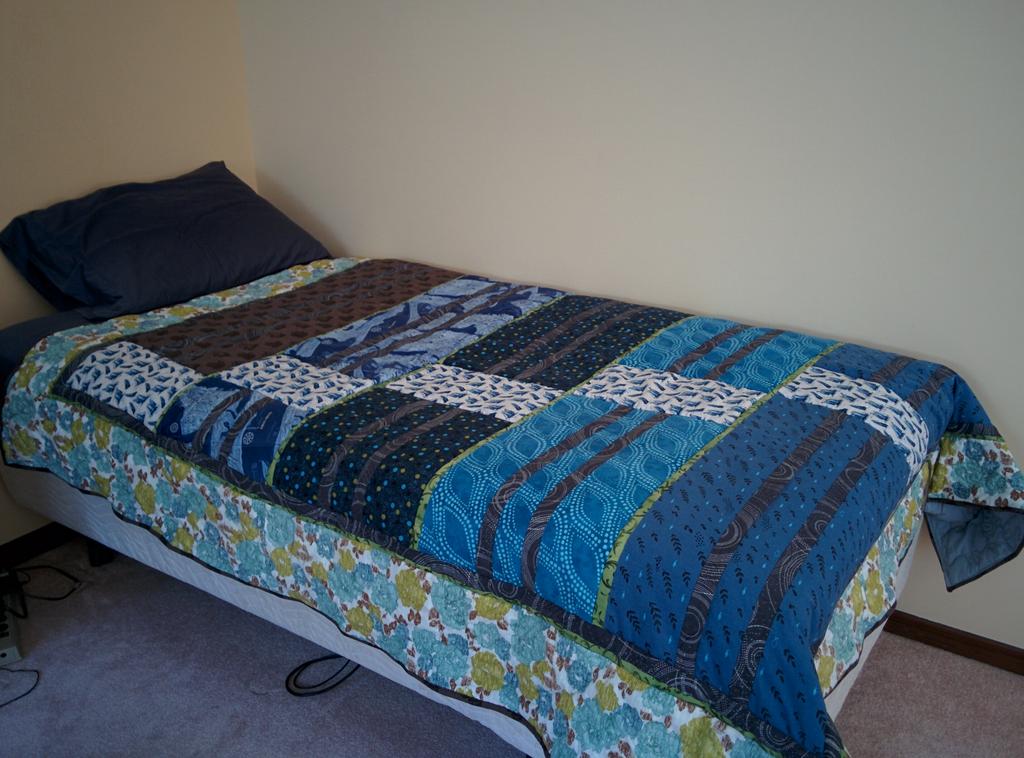
My roommate was using an old beat up comforter on his bed. He would never say that he needed a new quilt but I decided that it was a need. He has a sailboat that he loves to take adventures on (here are some pictures of our trip with him) so I used that as inspiration for the fabric.
The right side of the quilt border is larger so that it can be tucked in nicely to prevent it from shifting around at night. It was not a mistake, I promise!

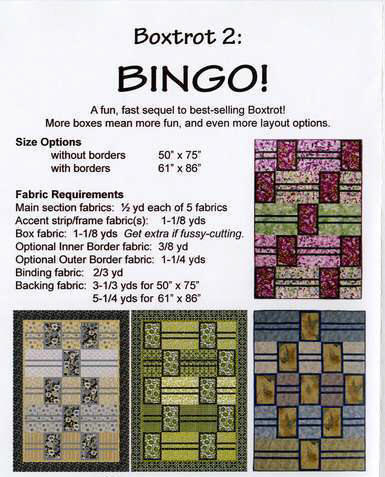
I started the project by finding a pattern. I wanted something that would be fast and easy. So I found this image online and thought it would do the trick. It didn't turn out to be a fast project, but that has nothing to do with the pattern...I got busy with other things like studying for a Red Seal exam, taking a university course and of course lots and lots of cooking!
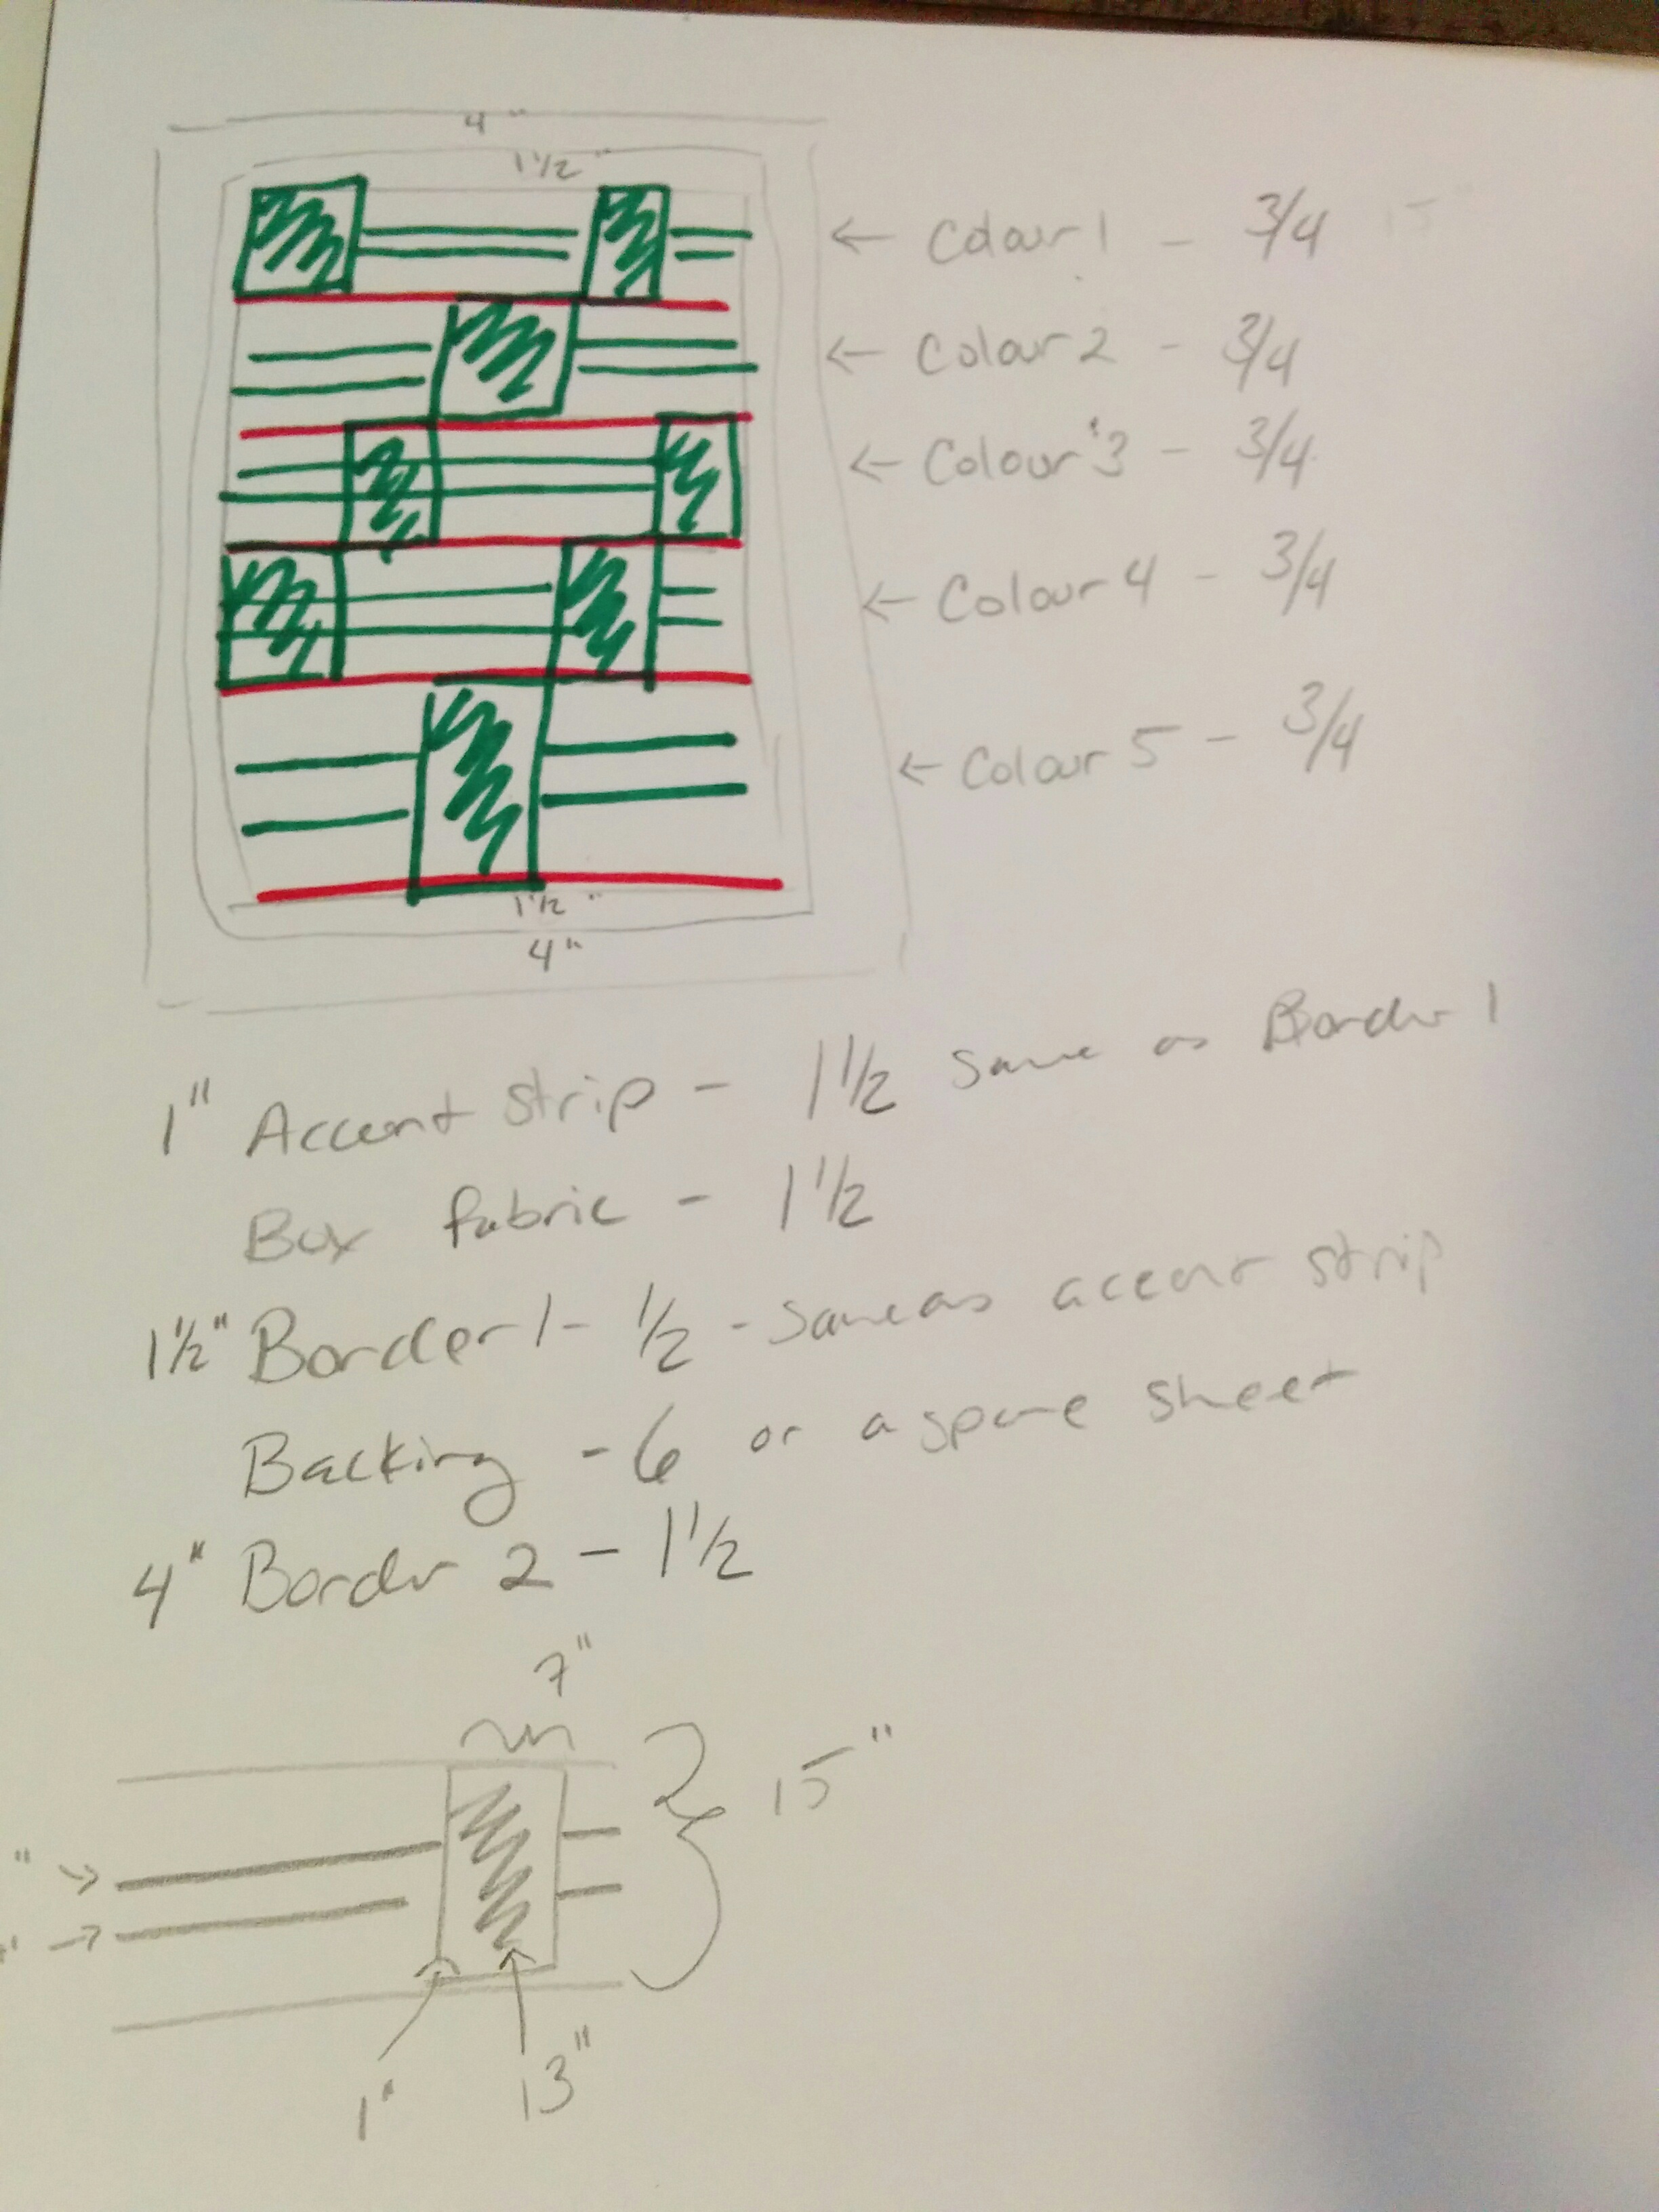
I then began to sketch up my own plan from what I found online. I am not an artist so the sketch is poorly done, but it helps me to get my head around how the quilt will come together. This is how I start most of my quilts even if it doesn't quite look like the sketch in the end.
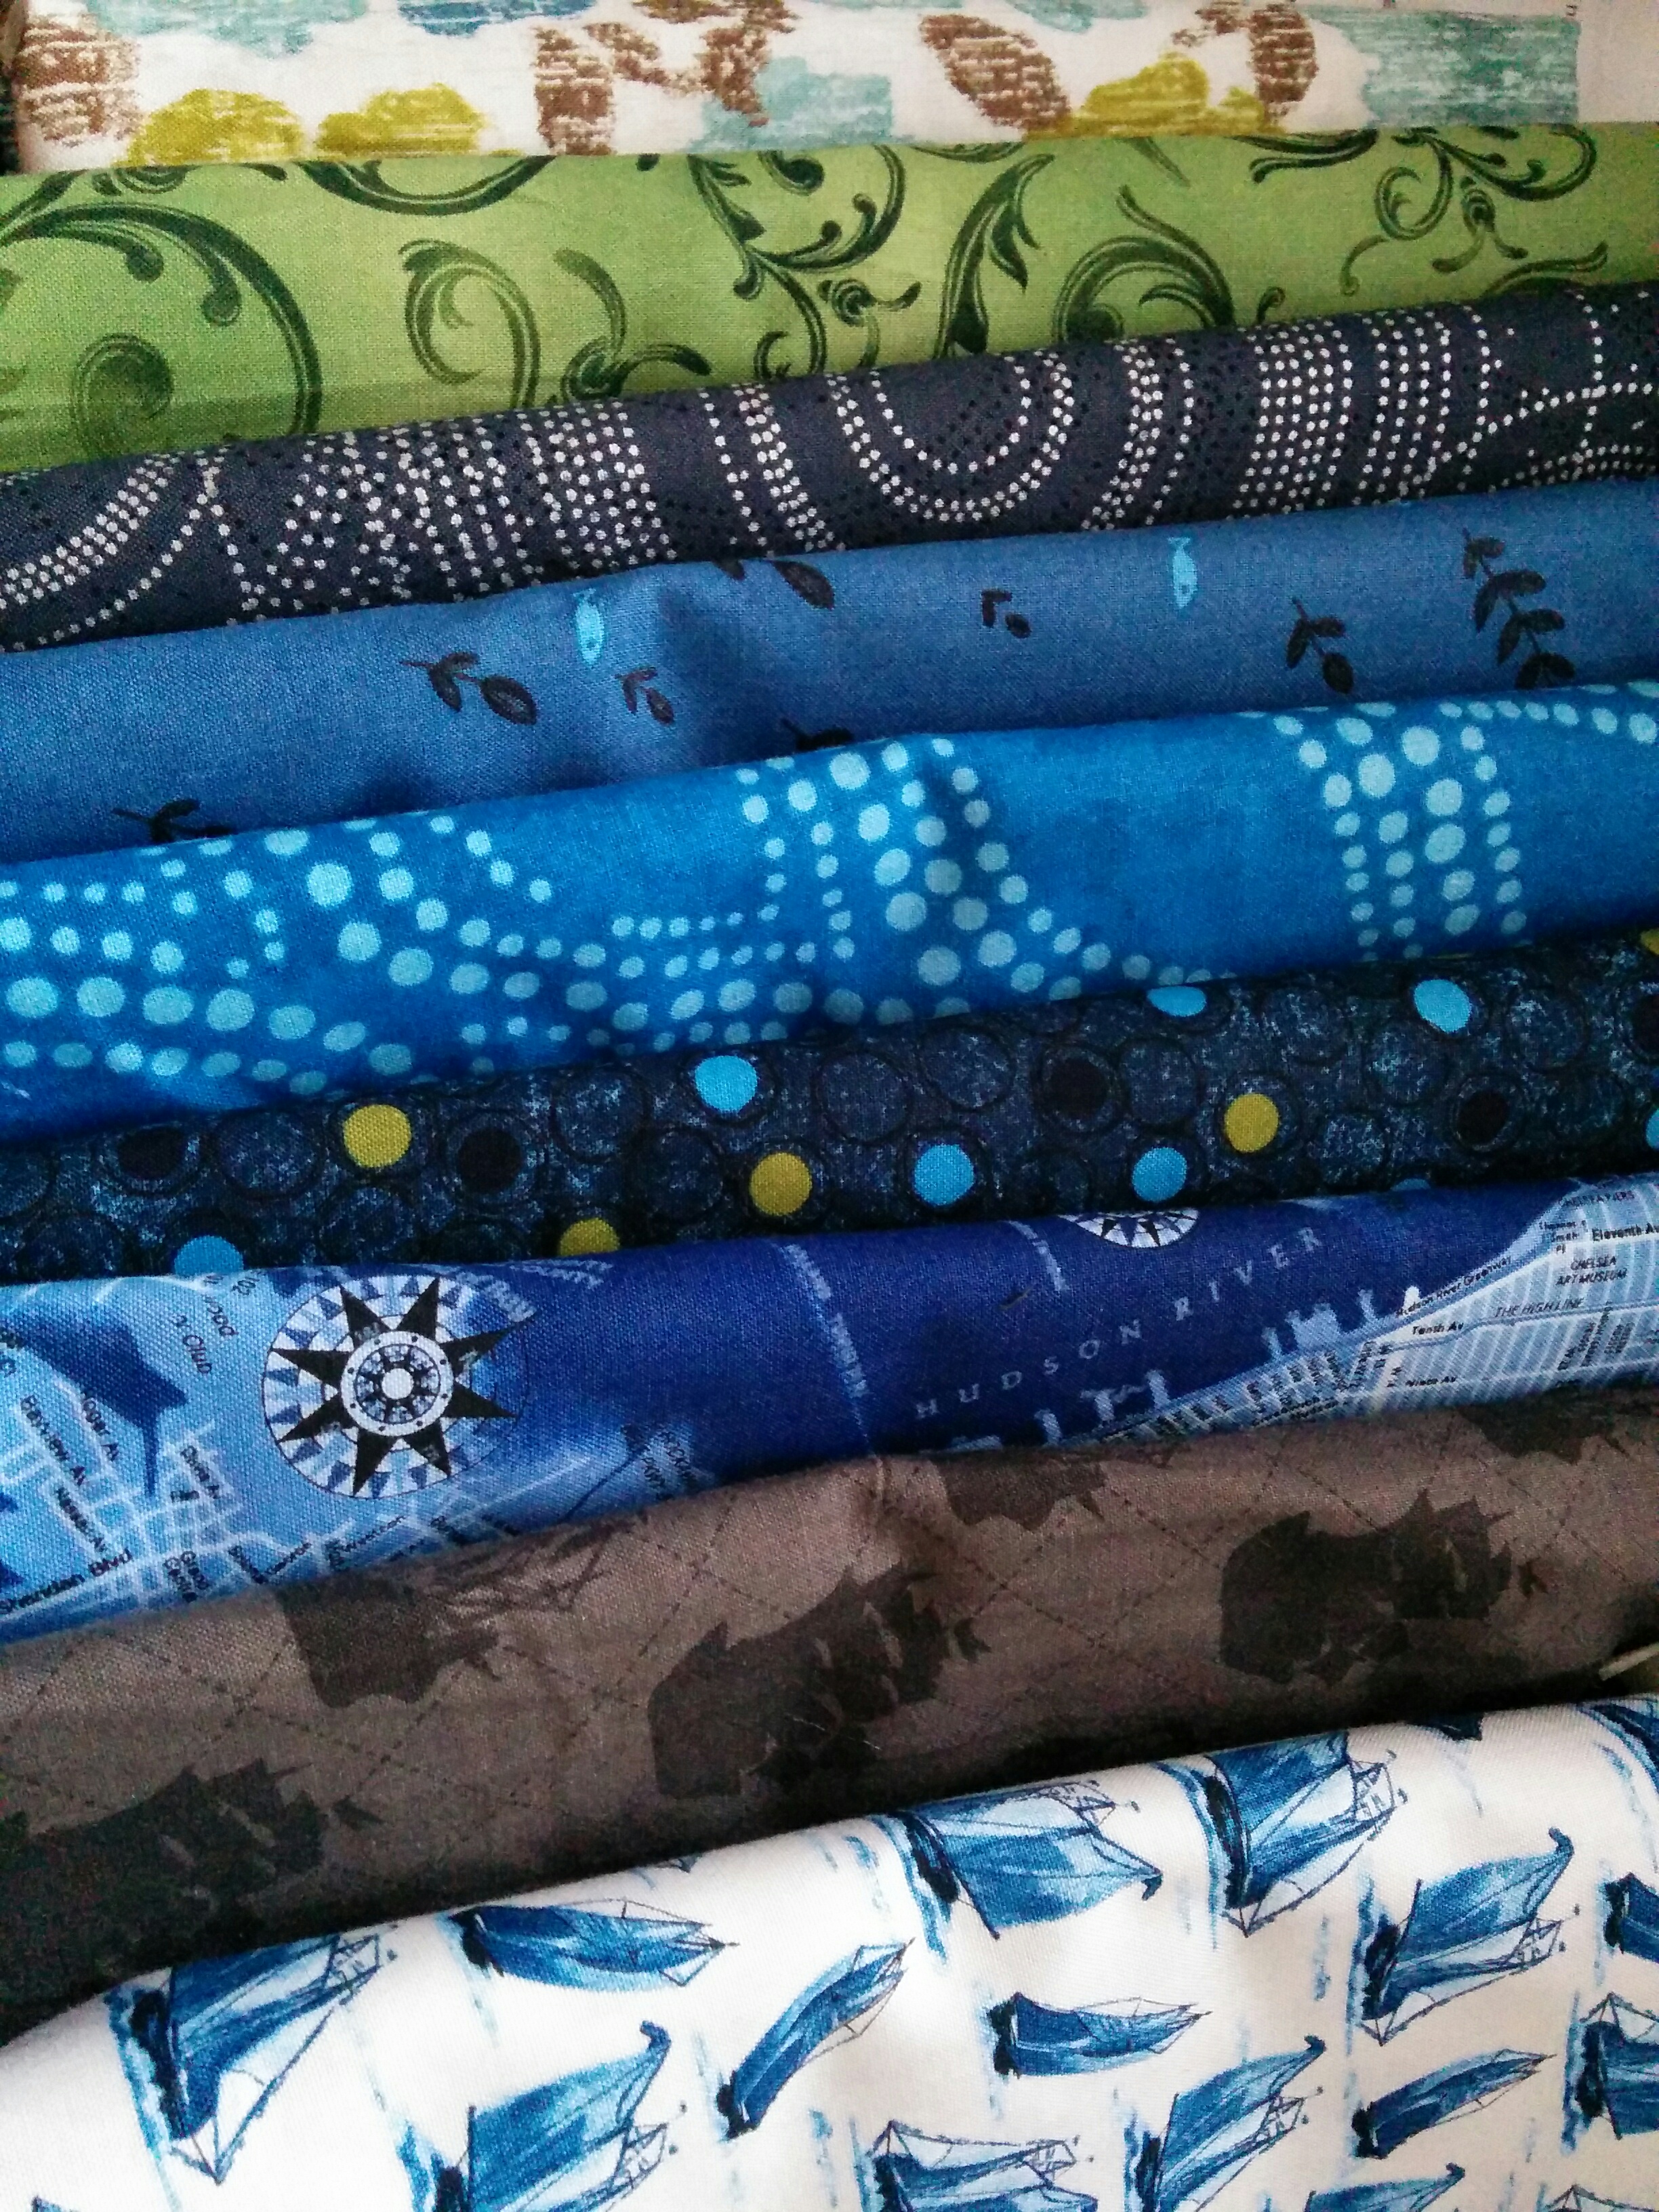
Next I go shopping. This is never a quick process, I probably spend close to 2 hours mixing and matching fabrics to see what works with the idea in my head. Most of the time I get home and change my mind about one or two of the fabric choices. This time I stuck to the plan.
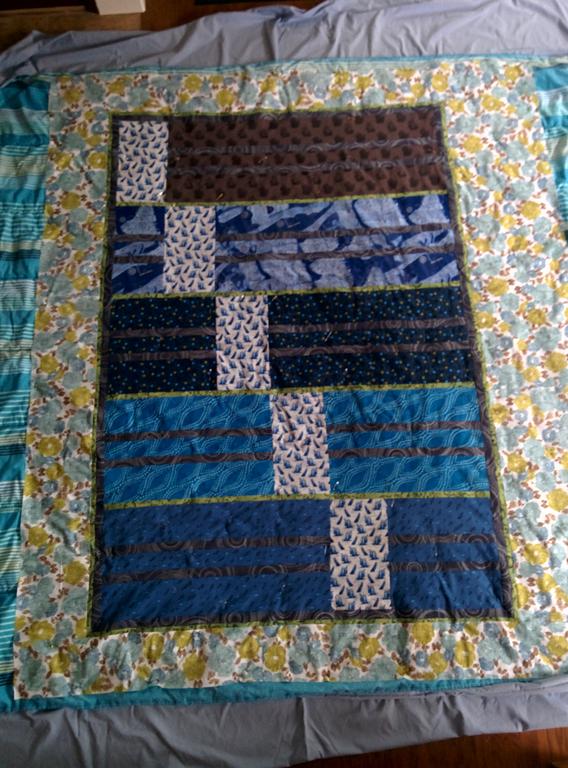
Now I go through the normal love it and hate it process of piecing together the topper of the quilt. When I finally have the topper done I sandwich it with a backing and batting (the warm part). For this quilt I recycled an older flat sheet and a puffy comforter. I've used flat sheets in the past, and they're excellent as a backing fabric, even if they're new they can be half the price of buying extra wide backing fabric from a fabric store. The comforter was a bit of a challenge as it was lumpy in some places and absent of stuffing in other places. So I had to try to try to even out the stuffing before sandwiching the layers together. I use safety pins to keep everything in place before I begin to quilt.
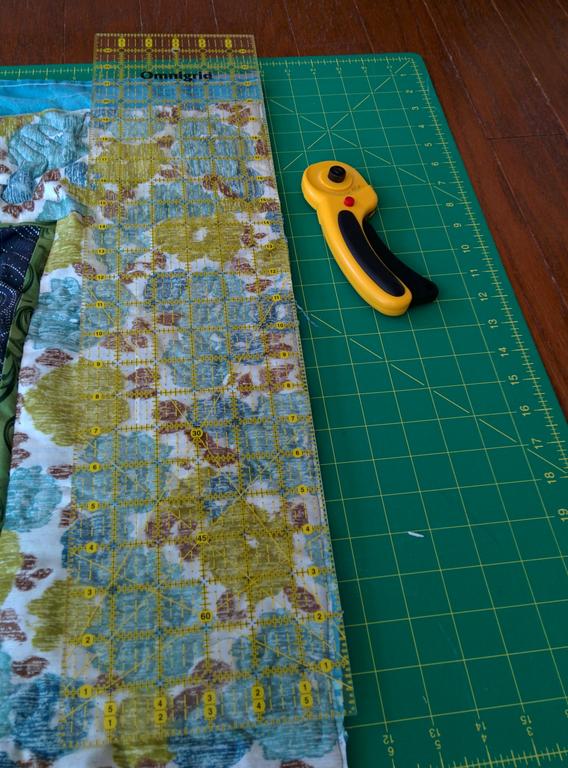
After all the layers are quilted together I cut along the sides, removing everything that is not part of the finished quilt. Next I make bias tape from one of the fabrics used in the topper, in this case I chose the brown to try to make the border blend in better.
Once the bias tape is attached I throw the whole thing in the washer and dryer, on normal cycle. That is the beauty of a machine quilted quilt! This helps to get rid of any extra thread or fuzzy pieces that are hanging out on the quilt. After the quilt has dried I check over it for any missed stitches or errors that were made. This time I found one corner that had stitches that had come loose in the wash, back stitching the bias tape is important for securing the seam. After all the fixes are made it is officially a finished quilt.

Writeback