Stuff by Tammy
Making delicious foods and loving life!

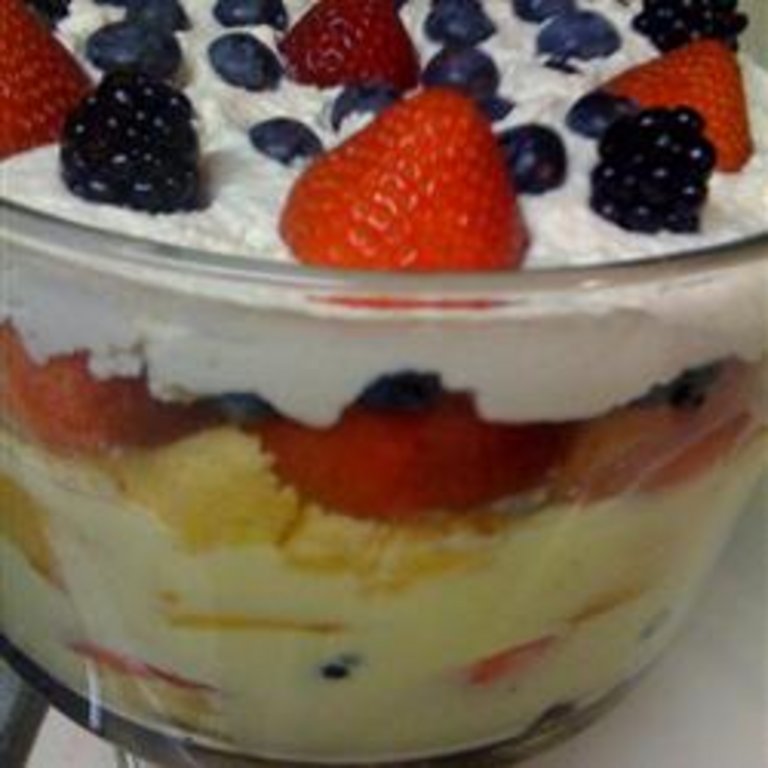
Triffle

Posted in /Cooking/Desserts on Sunday, April 02, 2017


This is a lovely light and colourful dessert. You can use leftover cake (if such a thing exists) or ladyfingers. Make sure you lick the bowl of the custard, because it is amazing!


Read More

Like this? Leave a comment!


Apple Crisp

Posted in /Cooking/Desserts/Squares on Sunday, April 02, 2017


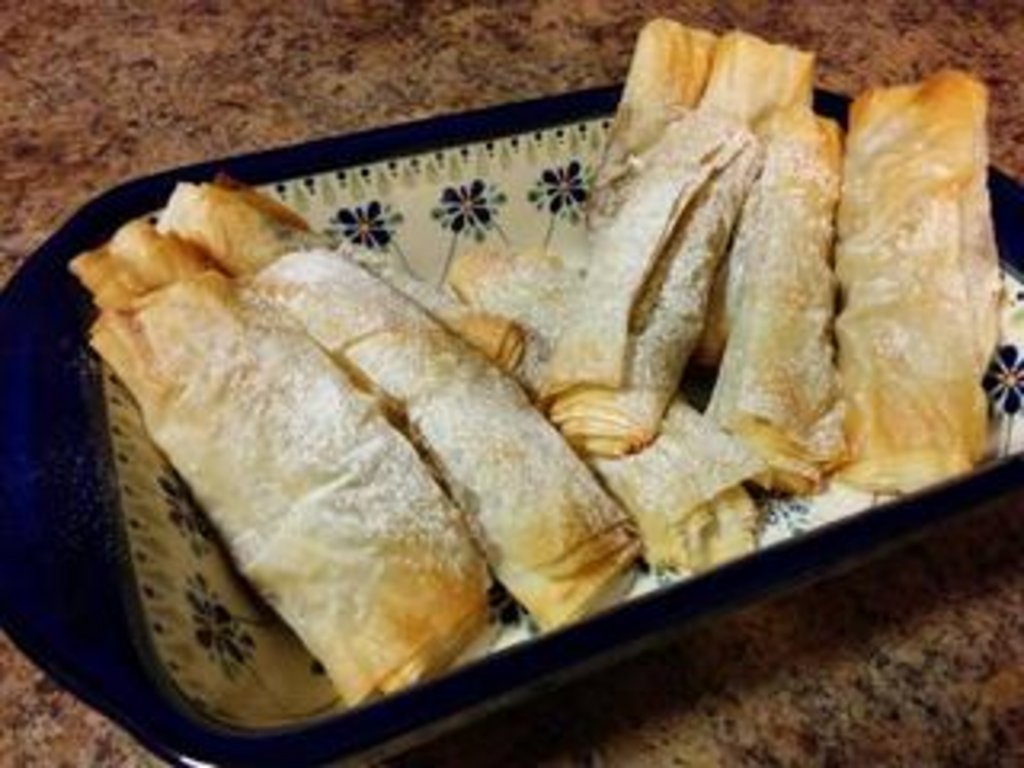
Apple crisp is an old stand-by for a quick and easy dessert. You can take it one step further and make some to have on hand for individual desserts by placing the ingredients in small mason jars and freezing until your in need of a little dessert.


Read More

Like this? Leave a comment!


Lemon Layer Cake

Posted in /Cooking/Desserts/Cake on Sunday, April 02, 2017


This is another recipe that my students make all the time. But I very often don't have a camera in the classroom.


Read More

Like this? Leave a comment!


Dutch Chocolate Cake

Posted in /Cooking/Desserts/Cake on Sunday, April 02, 2017


This is my standby chocolate cake. It is better than any box cake I've tasted and so far I haven't had any students make a mistake while making it...knock on wood!


Read More

Like this? Leave a comment!


Red Velvet Cake

Posted in /Cooking/Desserts/Cake on Sunday, April 02, 2017


Ingredients

2 cups all-purpose flour
1 teaspoon of baking soda
1 teaspoon of baking powder
1 teaspoon of salt
2 Tablespoons unsweetened, cocoa powder
2 cups sugar
1 cup vegetable oil or canola
2 eggs
1 cup buttermilk
2 teaspoon of vanilla extract
1-2 oz. red food coloring, depends how deep you want the color
1 teaspoon of white distilled vinegar
1/2 cup of prepared plain hot coffee (don't skip this ingredient)

Directions

  1. Preheat oven to 325.
  2. In a medium bowl, whisk together flour, baking soda, baking powder, cocoa powder and salt. Set aside.
  3. In a large bowl, combine the sugar and vegetable oil.
  4. Mix in the eggs, buttermilk, vanilla and red food coloring until combined.
  5. Stir in the coffee and white vinegar.
  6. Combine the wet ingredients with the dry ingredients a little at time, mixing after each addition, just until combined.
  7. Generously grease and flour two round, 9 inch cake pans with shortening and flour.
  8. Pour the batter evenly into each pan.
  9. Bake in the middle rack for 30-40 minutes, or until a toothpick inserted in center comes out clean. Do not over bake as cake will continue to cook as it cools.
  10. Let pans cool on a cooling rack until the pans are warm to the touch.
  11. Slide a knife or offset spatula around the inside of the pans to loosen the cake from the pan.
  12. Remove the cakes from the pan and let them cool.
  13. Frost the cake with Cream Cheese Frosting when the cakes have cooled completely.
  14. You can also use the batter from this recipe for Red Velvet Cheesecake Squares

Like this? Leave a comment!


Welcome!

Thanks for visiting my blog about great foods and fun fabric projects! There's lots to see here and I am always adding new recipes.

Did you know that we're journaling our progress as we work towards circumnavigating the world by sail? Join us on our adventures at weboughtaboat.com!

~ Tammy

Posts by Category